How about a super quick way to make gift cards or gift tags for Christmas?! And yes, it involves your sewing machine ;) Haha!

I bought a package of blank cards and envelopes a while back. I stitch cute designs onto them for different holidays. This week, I thought it would be fun to try something new. All you need is ribbon, twine, and scraps of green fabric.
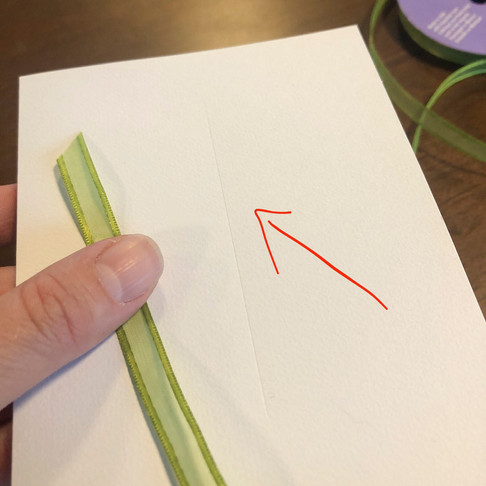
First up is the ribbon tree. I scored a line down the middle of the front of the card to give myself a line to follow. I clipped the end of the ribbon at an angle and stitched it to the line on the card making four to five small stitches.
Then with the needle down into the ribbon, lift the pressure foot and fold the ribbon out and to the left. Make a small loop, and cross it over the center line to the right. Lower the pressure foot and stitch about three stitches onto the ribbon to hold the loop in place. Lift the pressure foot and make a small loop on the right side, folding the ribbon back across the center line to the left.
Keep making increasingly larger loops back and forth across the center line, taking a few stitches each time to secure that part of the ribbon.

When your tree is tall enough and wide enough, bend the ribbon straight down along the center line and stitch it in place for the trunk.

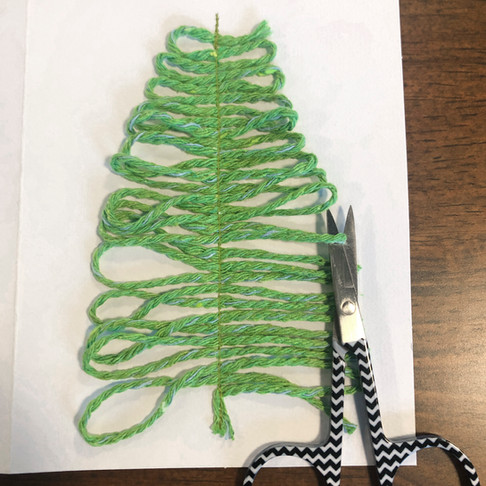
How about a twine tree? I scored another line down the middle of the card just like I did for the ribbon tree. I made a few locking stitches on the card before adding the first loop of twine.
Much like the ribbon tree, I kept looping the twine back and forth across the center line as I stitched each loop in place.

The loops got bigger and bigger or wider and wider as my tree got taller.
Finally, I bent the twine straight down and stitched it in place for the trunk. Then I snipped the loops at the outside edges to create raw edge “tree branches” and used a toothbrush to unravel the twine and fluff it up.
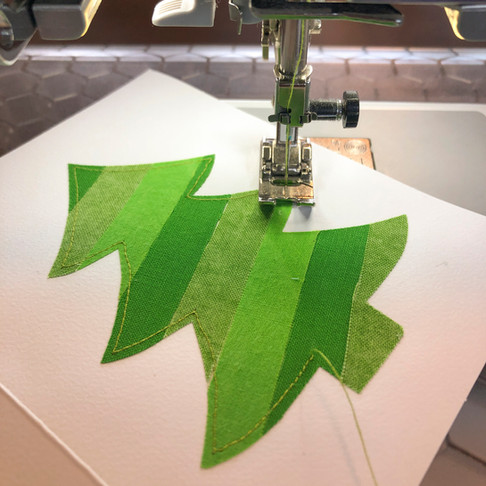
Okay, last but not least. The scrappy green trees! I cut a bunch of 3¼” x ½” green scrap strips. I drew a tree shape on a piece of fusible web, then ironed the scrap strips to the other side, butting the edges up to each other closely.
Cut out the tree shape and peel the paper off the other side of the fusible.
I used the same process with the second tree, but this time I angled the scrap strips diagonally. I pressed the trees onto the front of the blank cards.
I stitched around one tree in green thread. I thought it would be cute and whimsical to stitch around the other one in black. I like the way that one came out!

You could embellish these with little stars on top or fancy stitches as decorations… the ideas are endless :)
Happy Sunday everyone,
Krista
Follow all my quilty adventures on Instagram, Facebook, and Pinterest. Visit my YouTube channel for free tutorials and tips. If you like my patterns, you can buy them on Etsy, and here on the website.


