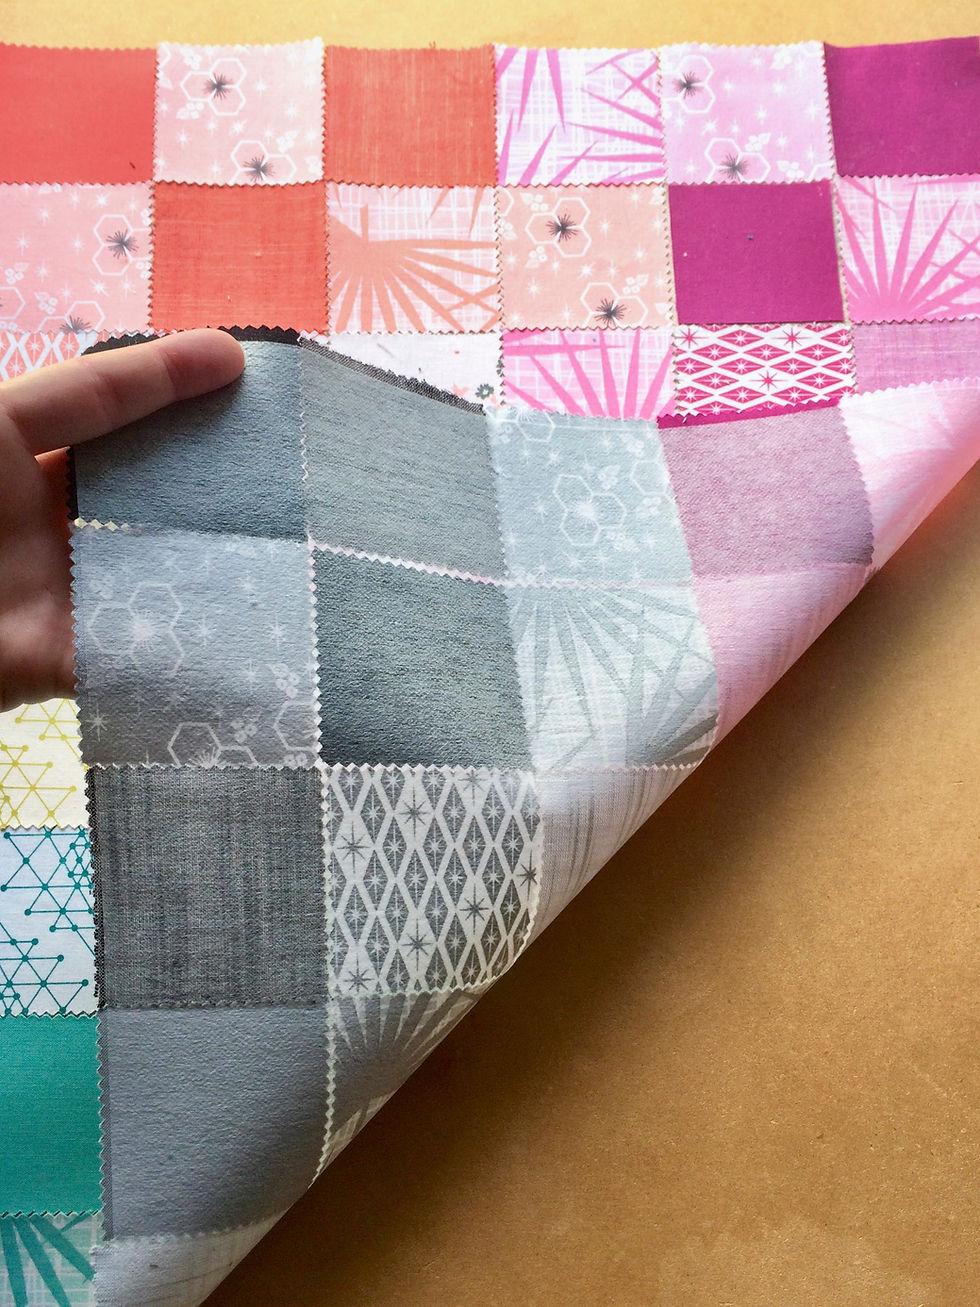
Do you need a little end-of-summer project for the kiddos before they are all wrapped up in the school year again? I think they would love to do something like this! And it's the fastest way to piece bits and pieces together with remarkable accuracy!

I had a pile of little 2.5” squares just sitting here collecting dust. These are called “crumbs” in the precut quilting world. Instead of piecing each one to the next in the traditional (tedious) way, I figured I’d break out an old technique from the years of colorwash quilts!


I cut a 20” square piece of basic fusible apparel interfacing. I laid it down with the bumpy side up (the bumps are the fusible glue dots).

I laid out my squares eight across and eight high. Then, I played with the colors until I liked how they looked.

Notice how the edges of each square line up very close to the next one without overlapping and without too much of a gap. I was pretty careful to make sure the rows of blocks looked straight.

I slid the whole thing onto a piece of cardboard and took it to the ironing board. I gently pressed everything in place, slowly moving from one section to the next making sure each square is fused down.

Here it is after fusing. I gave it a little shake to be sure nothing came flying off!


Fold the first row over, right where the rows of blocks meet, and stitch with ¼” seam allowance.

Continue folding and sewing each row until all the vertical rows are sewn. Be sure to pull the whole thing open again, between rows, so you don’t end up catching the last row in the next seam.

Here is what the front looks like after the vertical rows are sewn. It really shrinks up quite a bit.


Before sewing the horizontal rows, clip just up to the stitch line between each block. This will allow you to flip-flop the seams when sewing in the other direction.


Now just as before, fold the first row over. With your fingers, press the top seam one way and the bottom seam the other.

Stitch each row with a ¼” seam, being sure to flip-flop each seam as you get to it (they like to stand up on their own).


All the seams are sewn, it just needs a good pressing. The best part is I don’t have to worry about my seams fraying because they are all wrapped in fusible web, perfect for the inside of a pillow.

Here’s the finished top! Would you believe that only took ten minutes from the time I started sewing?! It’s gotta be the fastest way to piece something ever, and all the intersections match perfectly! This could be done with rectangles too… wouldn’t that be cute? Another stash-busting idea or a good way to use up scraps :)

I trimmed it up, then added a backing and zipper... and voila!
Happy Sunday, everyone.
Krista
Follow all my quilty adventures on Instagram, Facebook, and Pinterest. Visit my Youtube channel for free tutorials and tips. If you like my patterns, you can buy them on Etsy, and here on the website.


