How Wide To Cut Your Binding
- Krista Moser

- Sep 20, 2020
- 3 min read
Updated: Apr 21, 2023

Do you have a go-to size to cut your binding? Have you ever tried a different size to see what effect you would get? I thought I would do a little experiment to show you different sizes and what they look like all sewn up!

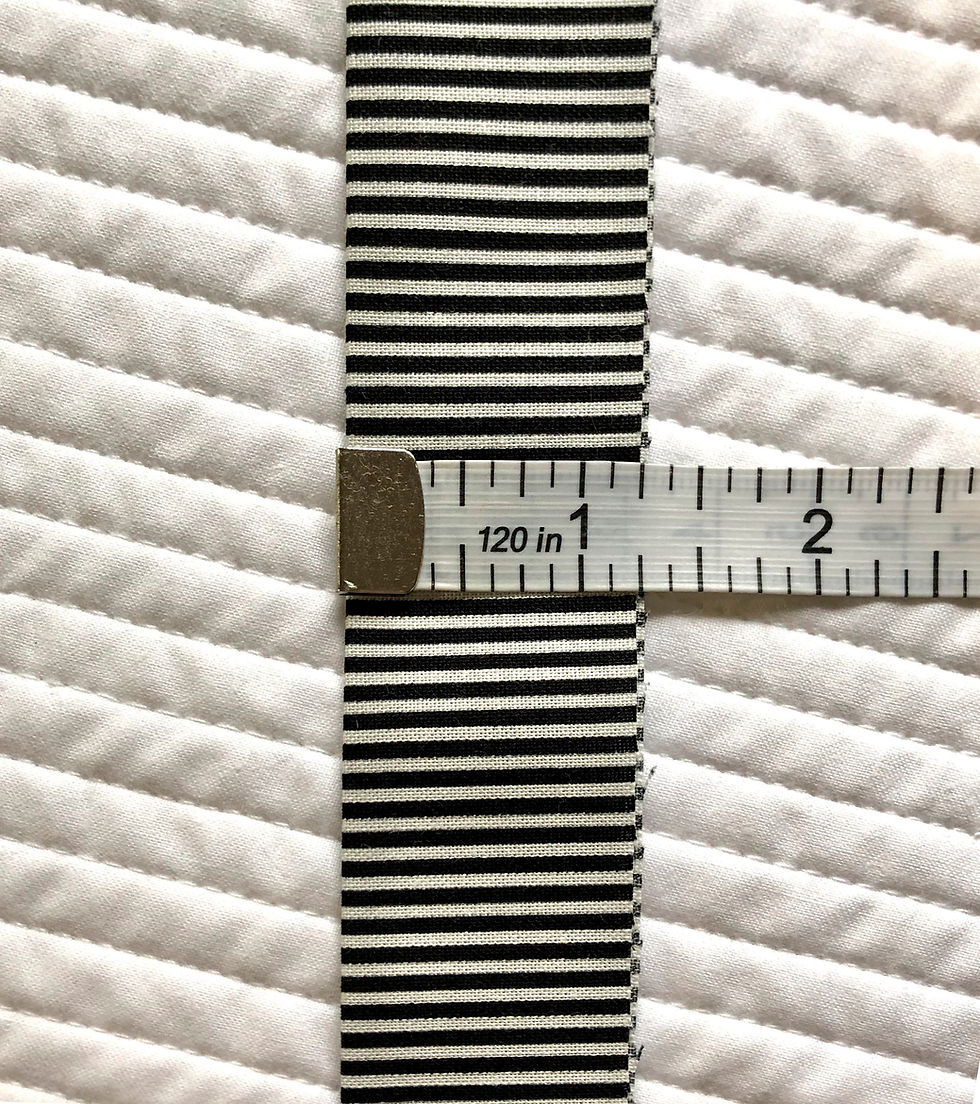
Here, I have four different sized strips: 2”, 2¼”, 2½” and 3”. I quilted up some sample swatches with a layer of 100% cotton batting in the middle. If you like to use thicker batting or thicker fabric like flannel or Minky, you may want to adjust the cut size to accommodate that.

First, we have the 2” cut size. I folded it in half so it is only 1” before sewing it around the quilt. This will make a very dainty little binding, perfect for wall hangings or other easy use projects where you want the binding to be discrete.


I sew this binding on with a ¼” seam allowance. Then, I wrap it around to the other side and topstitch super close to the edge to finish it off (you can also hand stitch it down). You can see here it is showing about ⅜” once it is wrapped around and stitched down.

This makes a nice “full” binding without empty space inside the bound edge.

Next, I have a 2¼” cut size. Here I have folded it in half to make a 1 ⅛” size strip before sewing it around the quilt. This is my go-to binding size. It is not too small and not too big. It’s easy enough to stitch on without covering too much of the edge of the quilt.

I stitched this one on with a heavy ¼” seam allowance. You can see it is a little bigger than ¼”, but not quite as big as ⅜”. If you have a machine with an adjustable needle position, it should be easy enough to move your needle a couple clicks to the left and still use the edge of your pressure foot as a guide when sewing.

This binding comes out as a heavy ⅜” once it is wrapped around and stitched down.

Next, we have the 2½” cut size. I folded it in half and now it is 1 ¼” before sewing it around the quilt.

I sew this one on with a shallow ⅜” seam allowance. It is just one needle position away from ⅜”.

This one makes for a shallow ½” show, once it is wrapped around and stitched down. I use this size binding on thicker quilts because it givea little more room for fuller edges.

Finally, we have the 3” cut size. This size binding is great to add some real drama to the edge of your quilt. Folded in half, it is a 1½” strip before sewing it around the quilt.

I sew this one on using a heavy ⅜”-scant ½” seam allowance. This will cover up quite a bit of the border edge, so it may not be ideal if you have a pieced border and don’t want to lose any details/points into the seam allowance.

Once wrapped around and stitched down, this makes a full ½” binding. This size binding almost creates a frame or accent border on its own. Use a bold print or a fun stripe and you’ll really make a statement!

You’ll never know what a difference your binding size could make till you give it a try!
Happy Sunday everyone,
Krista
Follow all my quilty adventures on Instagram, Facebook, and Pinterest. Visit my Youtube channel for free tutorials and tips. If you like my patterns, you can buy them on Etsy, and here on the website.


