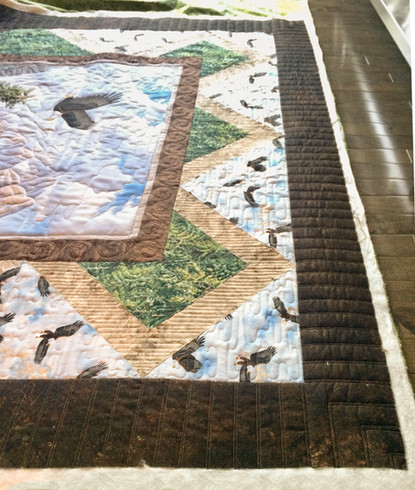
How To Square Up A Quilt
- Krista Moser
- Mar 7, 2020
- 2 min read
Have you ever wondered what is the best way to trim your quilt before binding? Well you’re in luck! I’ve been away all week teaching on a quilting cruise, so I dug this tutorial out of the archives and thought it would be a helpful one to repost.

I thought I would show you my foolproof (and super quick) way to square up a quilt before binding. You will want to have your quilt fully quilted before doing this part.

I use these two rulers: one is a 10.5” square (but you could use a bigger one) and the other is a 6” x 24” regular ruler (any similar sized ruler will work).
Make sure your quilt is quilted all the way to the edge, so the borders aren’t flapping or “lettuce leafing”. Lay the quilt out on a table or the floor, and put your cutting mat under one corner.
Take the large square ruler and lay it down right on the corner, making sure the edges line up with the edges of the quilt and the corner nestles nicely into place.

Trim both edges as far as the ruler goes in either direction.

Notice that the corner of the batting pokes out a little where the quilt wasn’t quite square before, this is okay, the binding will cover these minor imperfections.

Once you have squared up all four corners, you can pull the length of the quilt down on the mat and trim between the corners aiming from one cut edge to the other like dot-to-dot.
Using the 6” x 24” ruler, for this step, line-up its edge with the edge of the quilt and trim, moving the ruler down the quilt aiming for the trim line at the other corner.

And when you’re done, you will have a perfectly square quilt just like that! Easy peasy :)
Happy Sunday, everyone!
Krista
Visit my Youtube channel for free tutorials and tips. If you like my patterns, you can buy them on Etsy, and here on the website.
Scroll down to leave comments.


